Saturday, February 11, 2012

Boy Quilts!

There is SO MUCH cute girl fabric out there. . . not so much for the boys. I just had a boy and two of my sisters are on the verge of having boys. I wanted to try my hand at making boy blankets.


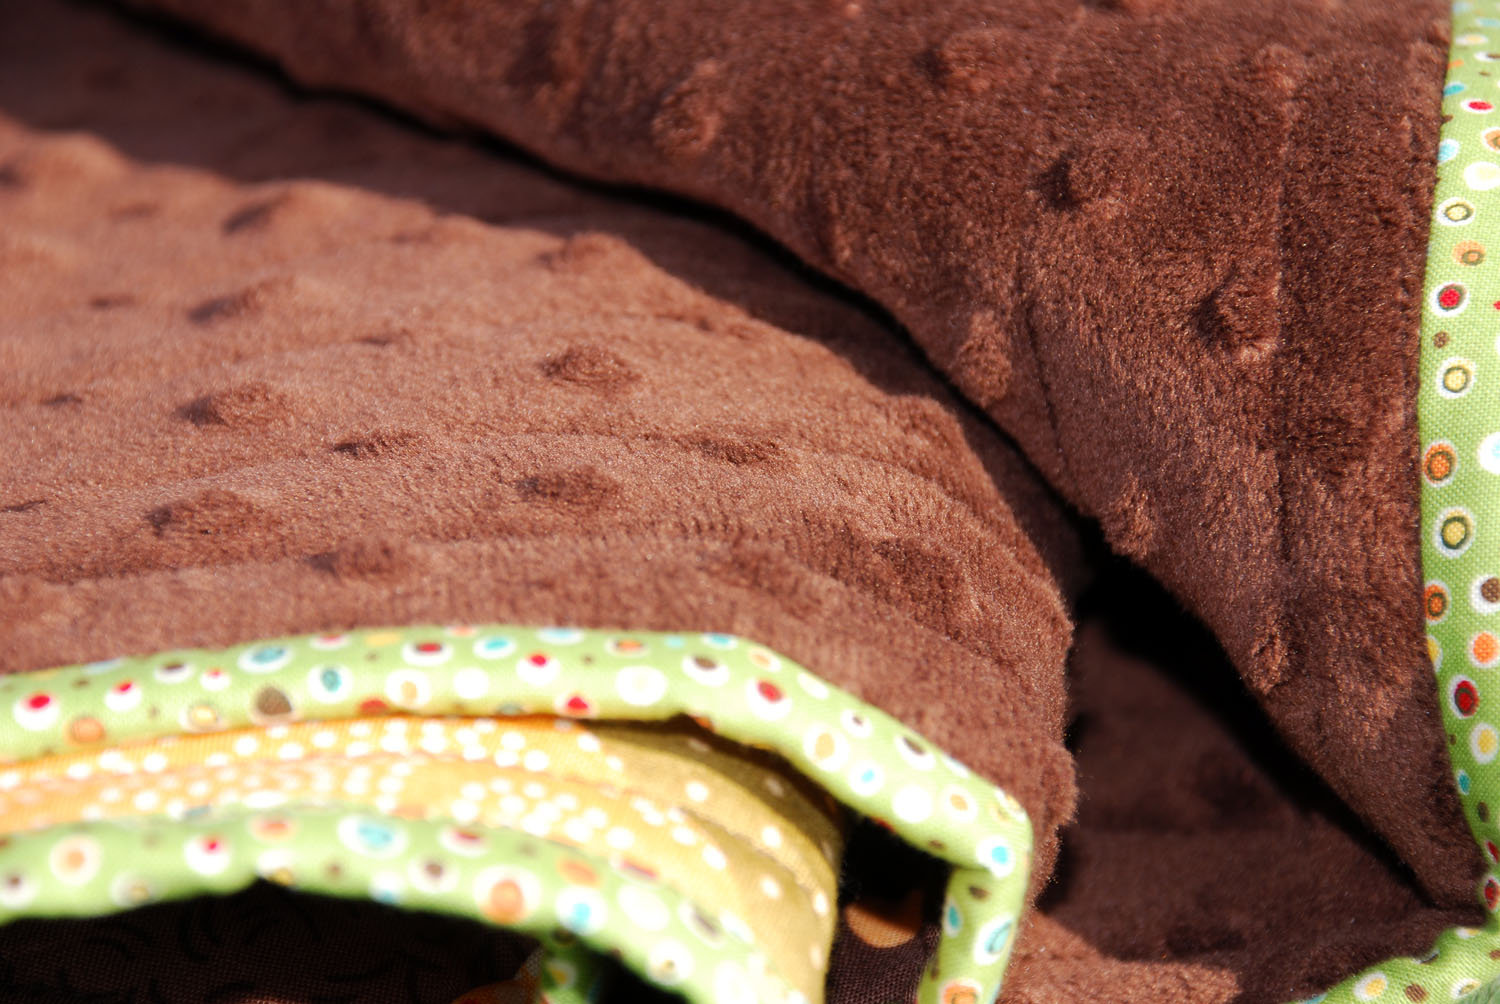
I really love the way they both turned out. One of the best parts? The blankets are backed with minky fabric.

They're really luscious. My husband compared them to the truffles of quilts. The outside is crisp and smooth and the inside is soft.

The above two quilts are for my two sisters, but I didn't want to leave out Henry. Here is the beginning of baby boy quilt #3.

Sunday, October 30, 2011

Warning: this may burn your retinas.

I made this quilt for the Babe's big girl bed. When I picked out the individual colors, I thought they looked fun together. When it was all done, it was really bright.

It's the first time I've done binding on a quilt that was separate fabric from the backing. I like it!

Thursday, March 17, 2011

More t-shirts

I made some more t-shirts for a special occasion. This was the babe's shirt:

This was the husband's:

And this was mine, "Prego Peterson":

It was a fun way to make the announcement.

Saturday, February 26, 2011

Queen of Hearts

I know this post is a little late, but this was one of my biggest projects last year. It couldn't be forgotten.

For Halloween last year, I wanted to really break in my new sewing machine and make my costume. In my excitement I picked an overly ambitious project, especially considering this is the first dress I’ve ever sown.

I also didn’t measure myself and relied on the size chart to pick my pattern. Big mistake. After spending untold hours cutting fabric and sewing the bodice, I learned that sewing sizes are completely different than store sizes. My dress was 4 sizes too small! I was devastated. I’d spent too much time and money to just quit, so I was convinced I would have to sell my dress on ebay because it would never fit me. The husband gave me a good pep talk shortly after this discovery and reminded me that I am the MacGyver of crafting and I could make it work for me. I took that to heart, ripped a few seams, and added fabric inconspicuously. It worked! If I entered a sewing contest I wouldn’t win any prizes, and perhaps it's slightly ill-fitting, but as a Halloween costume, I think it was stunning.

Plus it was fun to spin in, and that, truly, is the measure of a good costume.

On the plus side, I now have a good understanding of clothing pattern sizes, pleating, bunching, working with brocade, lace and ribbing, among other things. Good stuff to know for next Halloween, he he he.

Saturday, February 05, 2011

Quiet Book

For Christmas I made the Babe her very own quiet book.

I wanted something that would keep her happy and quiet for an hour of church. This is close.

The first page is a mailbox with removable envelopes.

In the envelopes I put flat things, like buttons and fabric flowers and stickers. She loves taking stuff out and putting it all back together.

Next page is colors and numbers. The color balloons are velcro and the numbers are flaps with fruits and vegetables behind them.

This next page is my favorite, but also the most frustrating. I never worked with metal eyelets before, but I now know they are no good on felt. They need to be used on stronger material (like canvas) or they will just fall off.

This page is also frustrating for Grace, cause she can't quite get anything on her own yet. The button is hard, the zipper has to be held at the top with one hand while you unzip with the other, the snaps are too hard, and of course she can't tie shoes yet.

But the prize for opening each element is a fun texture. In the shoe is a fleece mouse which you can't see in this photo.

The next page has a lot of potential and I plan to build on that. At this point the Babe doesn't spend too much time on this page, but when I get more clothes done, I hope she will.

The last page is a shape tree. All the shapes come off and can be put in the little blue pocket. Or piled in the corner of the closet in the office, which is where I found all the shapes last week. That is one disadvantage to having removable parts - they're bound to get lost. Luckily, these are all pretty easy to make again if it comes to that.

That's it! I made two of these books at the same time, which consumed TONS of my time right before Christmas. I didn't get any pictures of the second book, but it's basically the same. In the future, if I ever make one of these again, I need to remember to reinforce the fabric for the pages. The thin fabric needs a thick interfacing or I need to use a thicker, stronger fabric. This just feels too flimsy to stand up to some of the velcro dots, unfortunately. I hope it will last, anyway.

Valentine Cards

I {heart} fonts. I know a lot of people who shop at my work site do too, and it's my job to keep that love alive. Here was some inspiration I made on how to use fonts awesomely for V-day.

Check out the blog here.

I got Jimmered

We're big Jimmer Fredette fans around here. I made these shirts at the request of my husband. We used printable iron-on fabric transfers and I designed the graphic.

If you are a Jimmer fan, I am happy to share my images with you if you want to make your own shirts just let me know. Go Cougars!

Psion Beta

My Husband has a friend who is an aspiring author, and he is fabulous. He decided to self-publish his first novel last year and asked me if I would be interested in doing the cover art. What a neat opportunity, I thought, so I accepted.

I've done commissioned pieces before, but this was the first book cover. When I originally thought of cover ideas, they all had scenes from the book or action poses of the lead character, but my first instruction was: NO humans. Humans are kind of my forte, so this posed a new challenge for me. I decided to do the cover graphically rather than in paint or other raw media.

I worked really closely with the author to get a look that he liked. It was kind of refreshing working for a "client" whom I had to please with my work! My current job has a lot of freedom, well, essentially I can do whatever I want. I don't always feel like that helps me grow artistically, so this was a really good experience for me. There were times that I liked things that he didn't and vice versa, but I'm pretty pleased with how it turned out.

Since my field of work is designing fonts, I thought it would be fun to design a title font especially for this book. After I showed the author the title, he asked about using that font throughout the book. I made a quick mock-up font of what it might look like, so he could plug it in to see if it would work. I made it clear that the font was incomplete, and if he liked it, I would polish it up. He told me not to bother with the font after I sent him the mock font, so I didn't. But then when he sent me the proof, he had used my un-polished font!

I know most people probably won't even care, or notice, the font, but I see it and all I can think of is all the work it still needs! Oh well. I also designed a progressive swirling "blast" graphic for the head of each chapter.

If you are a bookworm, I recommend this book. It's similar to Ender's Game and Hunger Games and is geared towards a juvenile audience (so it's not too graphic or inappropriate). To learn more about it, check out the site here, and you can buy it here.

Tuesday, November 02, 2010

Some work project miscellany

I'm back! Hurray! Don't be fooled by my lack of posts, I really have been working on lots of projects and experiments. I'm a little bummed at myself that I don't have many of them documented, but I can back-track a little, especially for the ones I took photos of. The obvious ones I have photos for are work, so I'll start with that.

Below is a card I made in July for a blog post. I threw it together quick with whatever paper I could find. It's a little hodgepodge, but I like the way it turned out.

The below image also represents a blog post I did for work explaining how to make digital stickers with dingbats in Photoshop for digital scrapbookers. Writing tutorial type blogs takes a lot of effort! Probably the most elaborate effort I took for a blog post tutorial was this one from last year about making calendars. Whew, I'm exhausted just looking at how long it is. But it inspired some people, and that was the point.

This photo below is my niece, Sofie. I designed the frame(s) as a product to sell and I really like how they turned out and how they work together on this photo. This "shabby chic" style is still popular after going strong for like five years. I still like the style myself, but I'm anxious to see what predominant fad will come next. (As a designer, I always want to be on top of those sort of things.)

For another work blog post I went a little mason jar crazy. Below isn't even all of the labels I made, these are just the ones I have photos of. My canning adventures with tomatoes and peaches will have to wait for a different, non-work post.

Another product I designed that I was pleased with was a dingbat designed to be used as simple jack-o-lantern patterns. To demonstrate, I had to carve one myself, of course.

I also did a whole shebang of Halloween decor, but I've already blogged about that here and here, so no need to beat a dead horse.

More to come... when I have time...

Saturday, July 24, 2010

Turquoise

Remember when I was inspired to spray paint? Well, I thought I'd start with something dramatic. Here is the before:
And here is the after:
It's bright! I like it for now, but I can see myself growing tired of it. Hmm, what's next on my spray painting list...

Last minute

card for work.

Oatmeal...

...blech.
Does anyone know how to make oatmeal look good in a photo? I just got a lot of gross shots. Does anyone know how to make oatmeal taste good without adding loads of sugar?
I wanted to try oatmeal for a "filling and frugal start" to my day. It is also ideal for soaking to help reduce the phytic acid. I followed the recipe here. I added little cubes of apple, maple syrup, whole milk, and a little brown sugar. Blech. I couldn't finish the bowl. It's too sticky and not very tasty. Either the apples were not sweet at all or the oatmeal zapped any sweetness that was there.
Even the Babe only had a few bites before she was done.

Anyone know how to make tasty oatmeal without resorting to the quaker instant packs?

Monday, July 19, 2010

A sign for Grace

I like these kind of crafts, the kind that take less than a half hour but look nicer than that.

I'm not really fond of the font I used for "GRACE" so one day I might change it. I really like the font for "finds beauty in everything" and if you're interested you can find it here.

Sunday, July 18, 2010

Soaked in Buttermilk Whole Wheat Bread

I have begun my big new old-fashioned food experiment. I have to admit, this is the first time I've made whole wheat bread! This is also the first time I've ground my own wheat! And not as surprising, this is the first time I've soaked flour overnight in buttermilk! All in all it turned out pleasantly.

The recipe I used was from here. I halved the recipe, left out all the optional ingredients and the dough inhancer, and *ahem* accidentally started with an extra cup of flour. I'm not so good at halving recipes in my head. I kind of expected a flaming disaster and a soaring success all at once. What I got was somewhere inbetween-closer to the success side. The texture was perfect! I could've sold it at the grocery store and competed with Grandma Sycamore. The bread was tasty, too. However soaking in buttermilk left a sourdough tang that I don't know if I really love. It's not bad, but it's not for everything.

The point of this experiment, though, is not to make things that are out-of-this-world delicious. The point of this experiment is to see if eating homemade foods prepared with old-fashioned techniques helps me feel better and digest food better. The more I think about it, the more daunting this experiment can be. The only way to really know the difference is if I am consistant and replace ALL my bread with this bread, and ALL my grains with soaked grains (or the like).
I'll start with the bread. I'm pretty sure I can keep this up indefinitely.

Wednesday, June 23, 2010

I'm famous! well, not really.

My name was mentioned in a "Celebrity" blog! However, you may not know of this celebrity unless you are an avid scrapbooker and followed Creating Keepsakes in it's glory days. In this post on Becky Higgins blog, she selected her current favorite fonts (half of which I either created or processed into fonts) and in the last paragraph is my name! And a link to a project I made! Of course I made the project purely to feature Becky Higgins who is featuring my fonts but really featuring my company's website.

After perusing more of Becky's posts, I found a lot of her recent spray paint projects. I am looking at some old stuff in my house with a new perspective... I just may go a little spray paint happy soon.

Wallflowers

Shortly after we moved in, I decided I had to make big flowers to add some color to the vast whiteness in the Babe's new room.
I had envisioned just what I wanted, but decided to look online to see if there were some examples of how to do it. I couldn't find any examples of just what I wanted. I found some tiny wire flowers with stretched sheer fabric, but I wanted quilting fabric. So I made it up.

I must say, I'm pretty pleased with how they turned out. They've really cheered up the room. I still want to make a few more smaller ones to trail around the wall, but I probably won't get to them for awhile.

I used 20 gage floral wire to keep the petals stiff and assembled them all together in floral foam. They were easy to hang on the wall--I just poked a hole in the foam and voila! As I was making these I wondered to myself how many hundreds of people had made the very same sort of thing, but any photos just hadn't made it to the top of the google image searches. All the supplies can be found at Walmart. I wonder these sort of things about my crafts often... "how many people are making this very same thing right now..."

You can snicker at this cake

cause it's definitely not winning any beauty contests. But it has the potential for some great cake goodness.
I started with a layer of vanilla ice cream, followed by a layer of homemade caramel topped with peanuts, then a layer of chocolate cake. Repeat. Cover it all with dark chocolate ganache. Take the remaining ganache, whip it up with some more cream and dollop it on the top. Drop snickers candy bar slices on each dollop, and Happy Father's Day!

Things I learned while working on this cake:
  1. Spreading warm drippy chocolate ganache over frozen cake and ice cream isn't very pretty. The ganache gets cold quick and/or melts the ice cream and makes a mess.
  2. Trying to make a layer cake in an 8.5 inch springform pan with cake layers baked in 8 inch cake pans isn't very pretty. It makes for a lumpy cake. (For the record I thought my springform pan was just 8 inches. I bought it at a garage sale a few weeks ago and never measured it.)
  3. No matter how soft and delicious caramel is when you make it by hand, it's hard to cut and eat when frozen in a cake.

Saturday, June 19, 2010

My NEW garden

I've always wanted an herb garden in my kitchen window. I finally have a south-facing kitchen window so my dream can become a reality!!! This makes me so happy! You know what else makes me happy? This red pot.
I love it.

Pesto Pain

That's "pain" as in french for bread, not "pain" as in ouch.
One of the first things I did when I unpacked my kitchen was to find my Christmas Cookbook and christen my new kitchen with it's deliciousness. This photo was taken several days after I made the bread. The loaf was HUGE! I used store-bought pesto, but in the future I want to experiment with some homemade pesto. The bread was delicious, but the pesto was a little too tangy on the first day. It mellowed out perfectly by the second day, though.

Grinding wheat? Soaking grains? Sounds like a lot of work...

But I'm starting to think it's worth a try.

It started with my sister. She has had digestion problems for years and has tried everything in the book-elimitating certain foods, recipes galore, vegetarianism, even yoga to see if it helped her digestion. She's visited several doctors and all have said "reduce stress and eat more soluble fiber." She was at a point where if she tried to consume more fiber she would've turned into a tree. And still she had painful and poor digestion.

A couple months ago she came across a book that took food preparation back to the pre-industrial days. It was one of the few things she hadn't tried yet so she thought she'd have a go. It worked. She has never felt better. The benefits have extended beyond just improving digestion. She has more energy, doesn't feel like she's battling depression all the time, she has better memory and focus. She couldn't say enough good things about it when I was talking on the phone with her.

So I thought I'd do some research of my own. You should know that I've always tried to avoid overly processed food. I've never trusted some of those ingredients lists, they just don't seem right. In my research I've discovered there are a lot of conspiracy theorists and fear-mongerers out there. I'm not trying to do that. I'm just trying to find facts to help me take better care of my body and my family. However, In the Doctrine and Covenants there is a chapter referred to as the "Word of Wisdom" that talks about what is and isn't good for our bodies. There is a verse that says "In consequence of evils and designs which do and will exist in the hearts of conspiring men in the last days, I have warned you, and forewarn you, by giving unto you this word of wisdom by revelation." So even though I am not a conspiracy theorist, the fact is there is a lot of greedy companies out there who are only looking at their bottom line, not at what their product does to your body.

I decided to approach my research as instructed in Matthew 10:16, "be ye therefore wise as serpents, and harmless as doves," discerning between the fear-mongers and the truth-sayers.

I've found TONS of information out there. I want to use this as a reference for me for some of the more poignant articles I've found, so I'll probably add to this post as time goes on.
  1. About Phytic acid and nutrients in grains
  2. Be kind to your grains... and your grains will be kind to you
  3. The value of soaking your own grains
  4. The Ploy of Soy
I haven't changed anything about how I prepare my food yet, but I will, and I will document it here. This may be one of the largest experiments I've tried yet.