I made a couple more, but had given them away before I took the pictures.


 I really love the way they both turned out. One of the best parts? The blankets are backed with minky fabric.
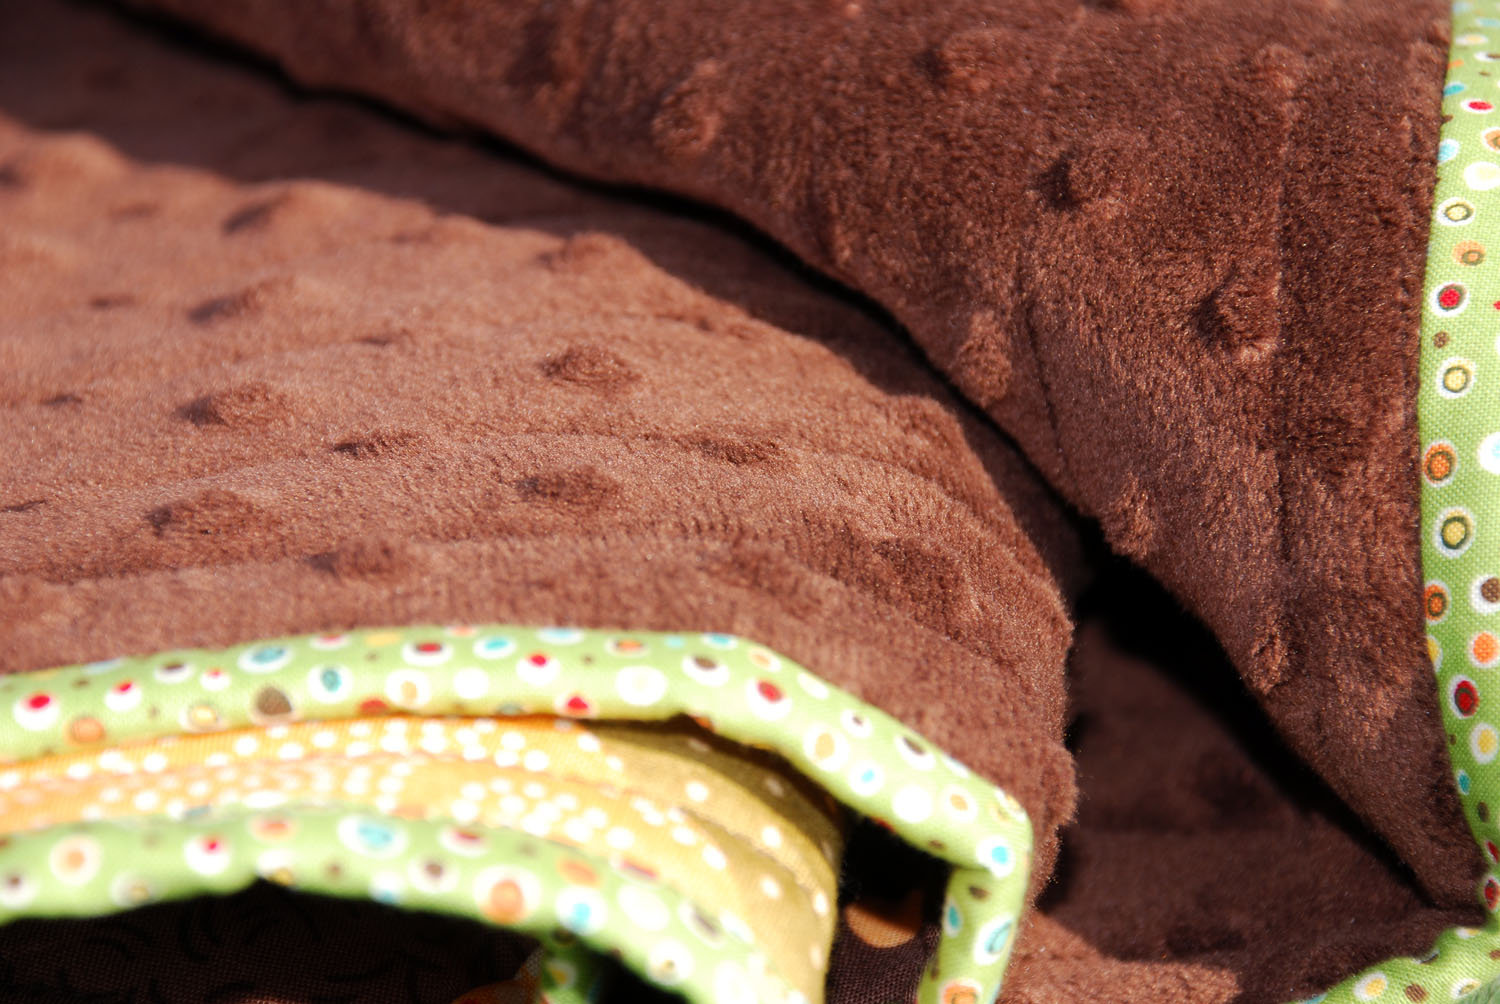 They're really luscious. My husband compared them to the truffles of quilts. The outside is crisp and smooth and the inside is soft.
 The above two quilts are for my two sisters, but I didn't want to leave out Henry. Here is the beginning of baby boy quilt #3.
 I made this quilt for the Babe's big girl bed. When I picked out the individual colors, I thought they looked fun together. When it was all done, it was really bright.
 It's the first time I've done binding on a quilt that was separate fabric from the backing. I like it!
 This was the husband's:
 And this was mine, "Prego Peterson":
 It was a fun way to make the announcement.
 I wanted something that would keep her happy and quiet for an hour of church. This is close.
 The first page is a mailbox with removable envelopes.
 In the envelopes I put flat things, like buttons and fabric flowers and stickers. She loves taking stuff out and putting it all back together.
 This next page is my favorite, but also the most frustrating. I never worked with metal eyelets before, but I now know they are no good on felt. They need to be used on stronger material (like canvas) or they will just fall off.
 But the prize for opening each element is a fun texture. In the shoe is a fleece mouse which you can't see in this photo.
 The last page is a shape tree. All the shapes come off and can be put in the little blue pocket. Or piled in the corner of the closet in the office, which is where I found all the shapes last week. That is one disadvantage to having removable parts - they're bound to get lost. Luckily, these are all pretty easy to make again if it comes to that.
 That's it! I made two of these books at the same time, which consumed TONS of my time right before Christmas. I didn't get any pictures of the second book, but it's basically the same. In the future, if I ever make one of these again, I need to remember to reinforce the fabric for the pages. The thin fabric needs a thick interfacing or I need to use a thicker, stronger fabric. This just feels too flimsy to stand up to some of the velcro dots, unfortunately. I hope it will last, anyway.
 Check out the blog here.
 We're big Jimmer Fredette fans around here. I made these shirts at the request of my husband. We used printable iron-on fabric transfers and I designed the graphic.
 The below image also represents a blog post I did for work explaining how to make digital stickers with dingbats in Photoshop for digital scrapbookers. Writing tutorial type blogs takes a lot of effort! Probably the most elaborate effort I took for a blog post tutorial was this one from last year about making calendars. Whew, I'm exhausted just looking at how long it is. But it inspired some people, and that was the point.
 This photo below is my niece, Sofie. I designed the frame(s) as a product to sell and I really like how they turned out and how they work together on this photo. This "shabby chic" style is still popular after going strong for like five years. I still like the style myself, but I'm anxious to see what predominant fad will come next. (As a designer, I always want to be on top of those sort of things.)
 For another work blog post I went a little mason jar crazy. Below isn't even all of the labels I made, these are just the ones I have photos of. My canning adventures with tomatoes and peaches will have to wait for a different, non-work post.
 Another product I designed that I was pleased with was a dingbat designed to be used as simple jack-o-lantern patterns. To demonstrate, I had to carve one myself, of course.
 I also did a whole shebang of Halloween decor, but I've already blogged about that here and here, so no need to beat a dead horse.
 I like these kind of crafts, the kind that take less than a half hour but look nicer than that.
 I'm not really fond of the font I used for "GRACE" so one day I might change it. I really like the font for "finds beauty in everything" and if you're interested you can find it here.
 I had envisioned just what I wanted, but decided to look online to see if there were some examples of how to do it. I couldn't find any examples of just what I wanted. I found some tiny wire flowers with stretched sheer fabric, but I wanted quilting fabric. So I made it up.
 I must say, I'm pretty pleased with how they turned out. They've really cheered up the room. I still want to make a few more smaller ones to trail around the wall, but I probably won't get to them for awhile.
  I used 20 gage floral wire to keep the petals stiff and assembled them all together in floral foam. They were easy to hang on the wall--I just poked a hole in the foam and voila! As I was making these I wondered to myself how many hundreds of people had made the very same sort of thing, but any photos just hadn't made it to the top of the google image searches. All the supplies can be found at Walmart. I wonder these sort of things about my crafts often... "how many people are making this very same thing right now..."
 This is the baby, my personal favorite of the family. It took longer than I planned because I accidently packed some of my sewing/craft equipment away before I meant to. It feels good to have them done!
 Every family has a two page spread and every cousin has an individual photo. It's a pretty simple book and was quick to put together. Some of the pictures are poor quality, but I'll take new ones this summer. I took many photos from the computer where the resolution is 72 dpi and printed them, where the resolution is 300 dpi. But I don't care. The point is to recognize faces, and the babe LOVES the book. It's totally cute how she points at faces. To fill up the book I printed a couple other pages that I had made in the past that I thought might interest her.

 This silly face layout I printed and added to the Cousin book. The Babe seeks out this page and points at each face and sticks her tongue out. It cracks me up!